How to ground your ESD floor
The purpose of painting your floor with ESD paint is to remove static. The paint will absorb the static charge but it needs somewhere to escape via a grounding point.
Grounding is a simple easy process.
Normally one grounding point is required for every 1000 ft2 (111 m2) of flooring. The most effective way of grounding is achieved by using adhesive backed copper tape, supplied free of charge with every Electroguard paint order.
Historically it was thought you needed a grid of copper tape under the paint to ensure the charge was removed but this is not necessary.
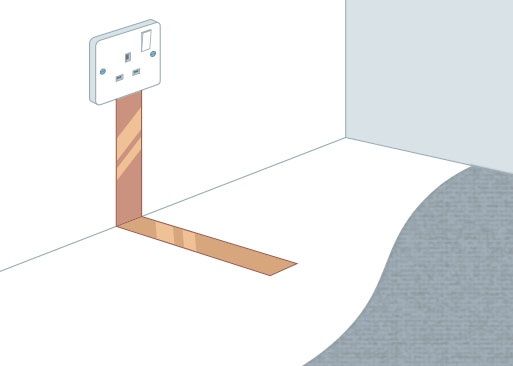
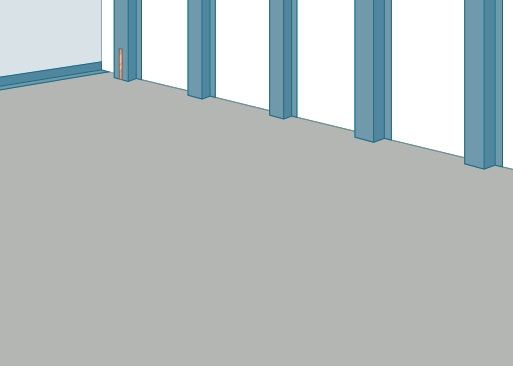
The connection to the floor is attained by fixing a length (10cm is enough) of tape to the unpainted floor surface at the edge of a wall. If using a primer, the primer should be applied first then the tape on top. The tape is then run up the wall to connect with a grounding point.
Grounding Points:
There are various types of grounding points which can be used:
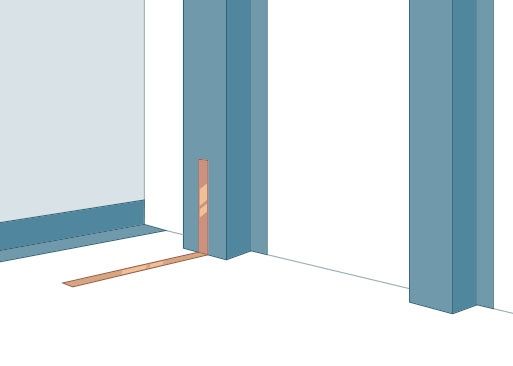
1.Steel Building Structures:
The tape should be applied to the unpainted/primed floor and ran up the steel beam/strut. The copper tape must be attached to bare metal so any existing paint/coating should be sanded and removed from the beam/strut before the tape is stuck down.
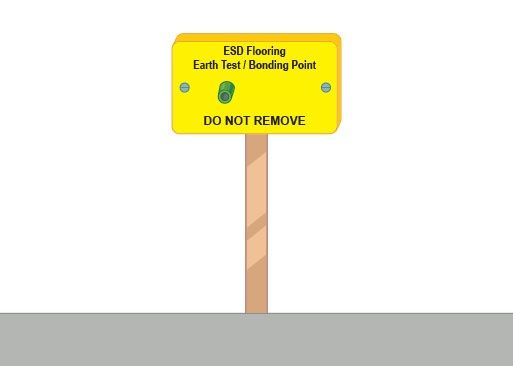
2.Connection to Bonding Box:
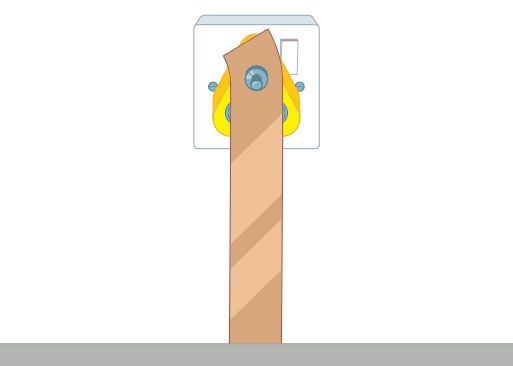
The copper tape is run up the wall and into an Earth bonding box. This requires a qualified electrician to install.
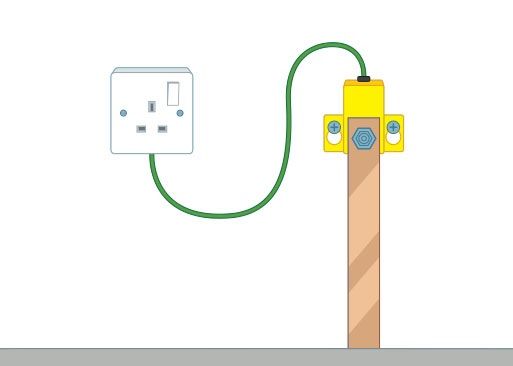
3.Connection to Bonding Bracket:
An alternative method is to connect the copper tape to an earth-bonding bracket attached to a wall then grounded in an appropriate socket by means of an earthing cord. This requires a qualified electrician to install.
4.Connection to Bonding Plug:
The copper tape is run up the wall and into an Earth bonding plug. The tape if fixed over the screw and fastened in place with the bolt.
Once the chosen type of grounding is in place you are ready to apply your ESD paint, ensuring the paint is applied over the tape on the floor.
It really is that simple but please get in touch if you have any questions at all.

